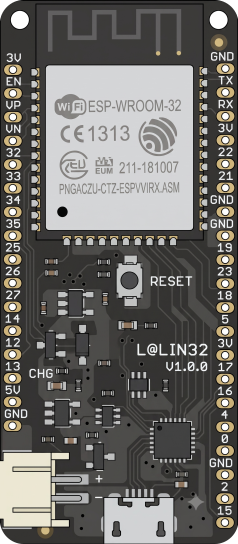
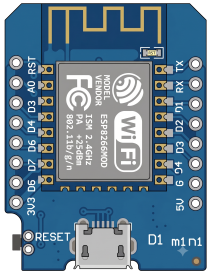
Any ESP32 or ESP8266 board works. Nothing to wire — the sketch makes up the value itself.
Eight steps, no sensor and no wiring. Copy the sketch, add your WiFi and API key, upload it, and watch the value arrive in your console.
Any ESP32 or ESP8266 board works. Nothing to wire — the sketch makes up the value itself.
Use the Sign In button at the top of this page, or create a free account if you don't have one yet.
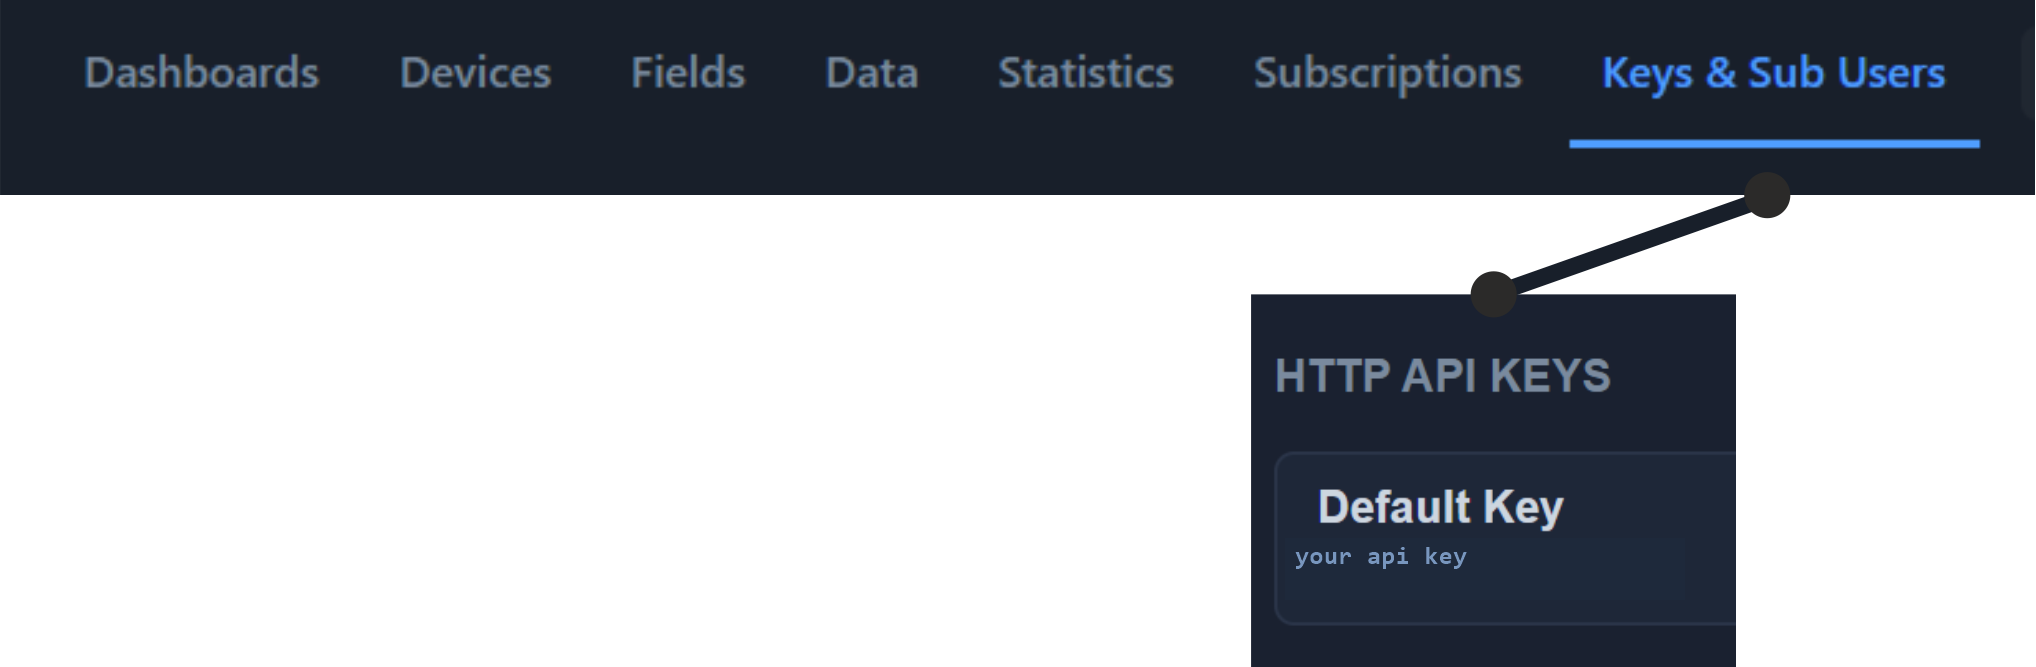
In the console open Keys & Sub Users and copy your Default Key from the HTTP API Keys panel.
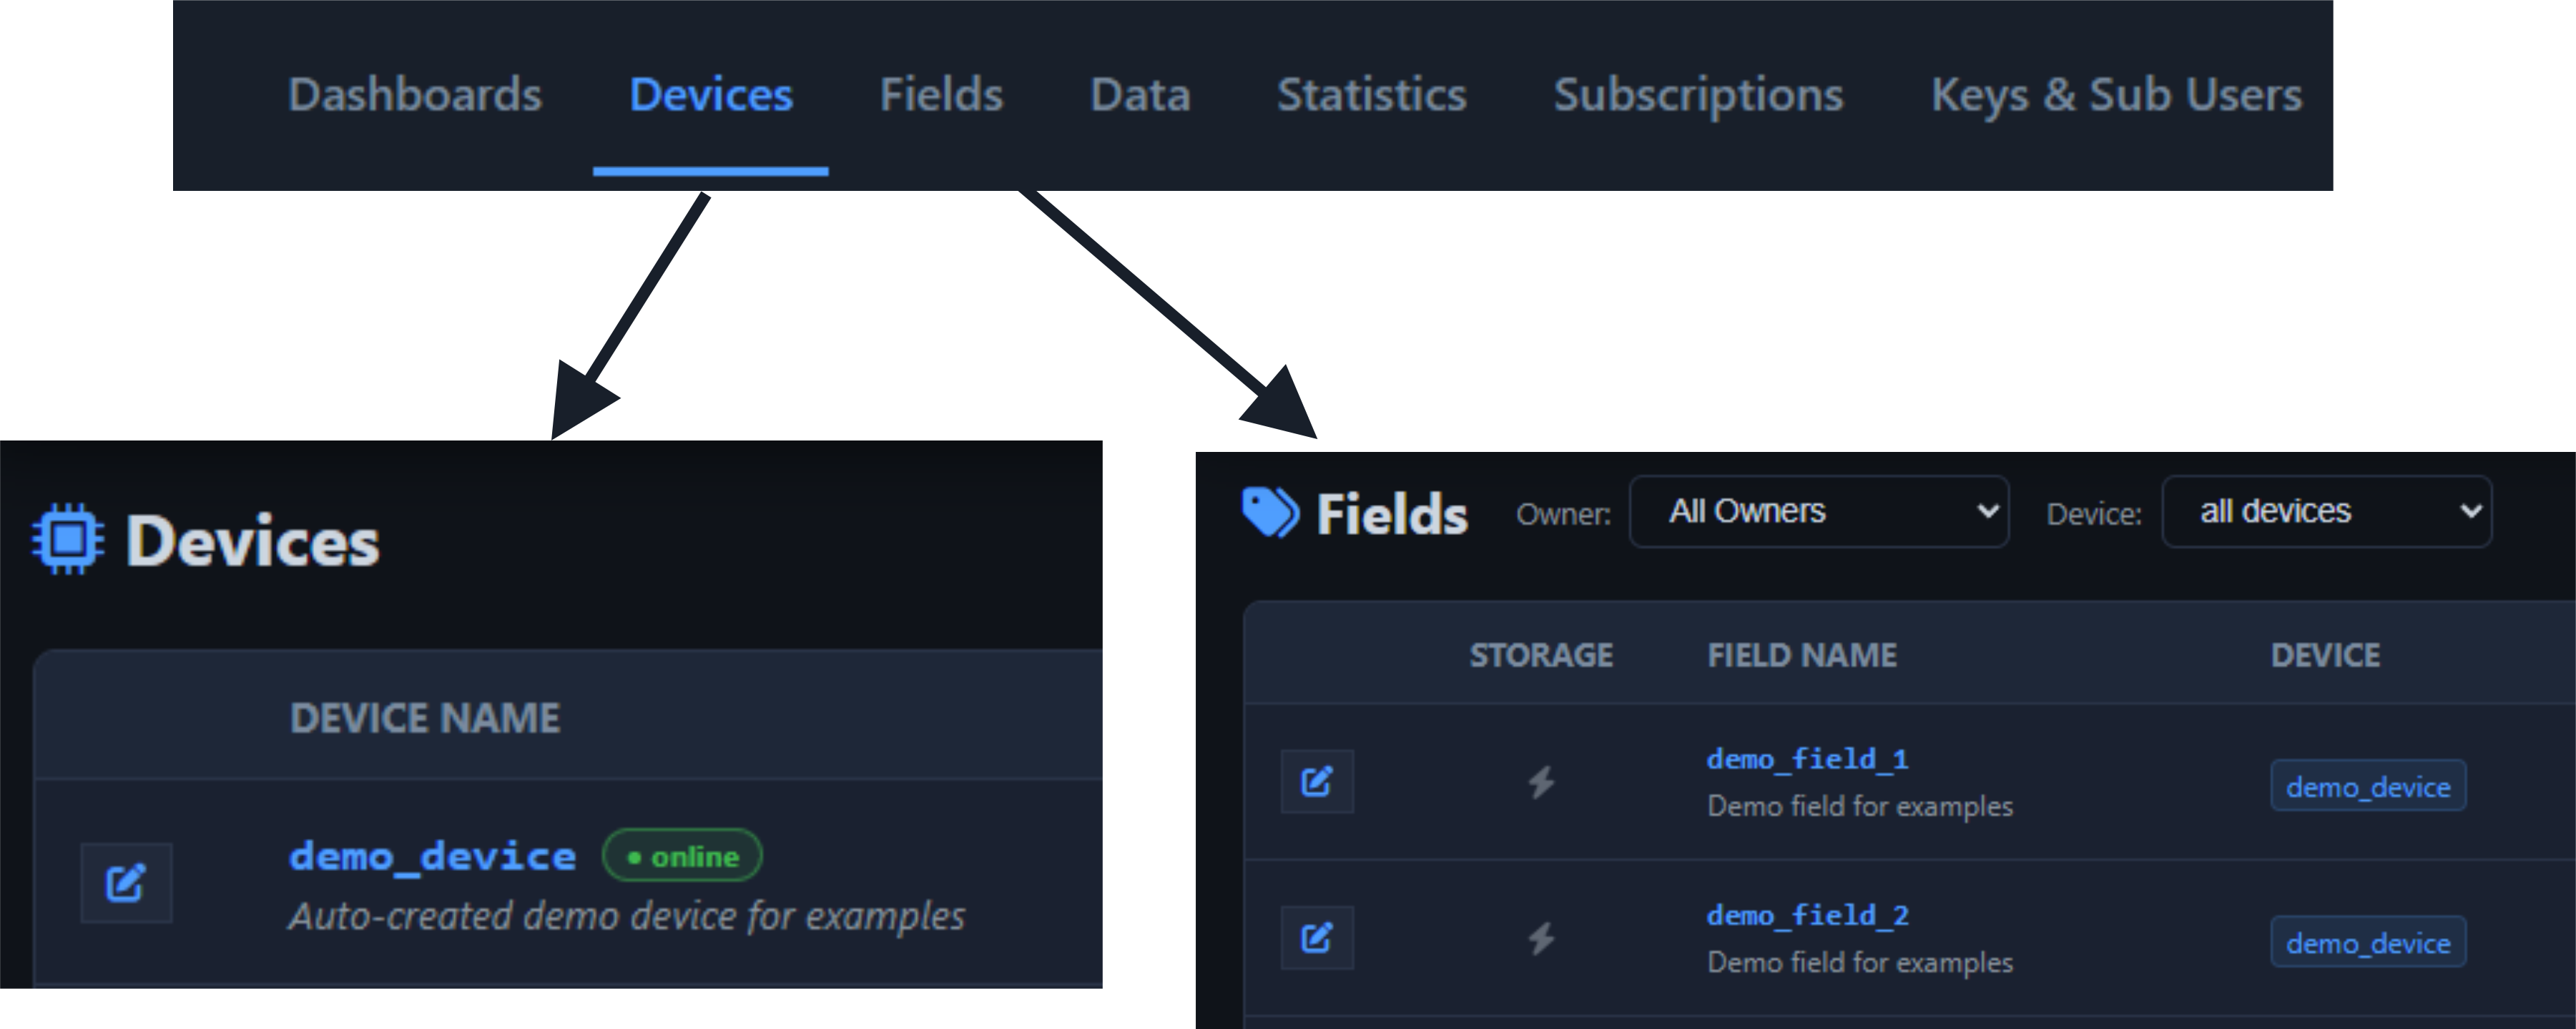
The field demo_device/demo_field_1 was created automatically when you
registered. Its name is the topic you send to. You can see it under
Fields.
This is the complete sketch. It makes up a value around 25 and sends it every 3 seconds, so you can see data arriving before wiring any sensor.
#if defined(ESP32)
  #include <WiFi.h>          // ESP32
#else
  #include <ESP8266WiFi.h>   // ESP8266
#endif
#include <VirtuinoCloud.h>

const char* SSID     = "YOUR_WIFI_SSID";
const char* PASSWORD = "YOUR_WIFI_PASSWORD";
const char* API_KEY  = "YOUR_API_KEY";    // Console → Keys & Sub Users

VirtuinoCloud cloud(API_KEY);

void setup() {
    Serial.begin(115200);
    WiFi.begin(SSID, PASSWORD);
    while (WiFi.status() != WL_CONNECTED) { delay(500); Serial.print("."); }
    Serial.println("\nWiFi connected");
}

void loop() {
    float sensor_value = 25 + random(-5,+5);   // replace with a real sensor read

    // The field's full name, exactly as in Console → Fields (VirtuinoCloud 1.1.0 or newer)
    bool ok = cloud.write("demo_device/demo_field_1", sensor_value);
    Serial.println(ok ? "Uploaded" : "Upload failed — check WiFi and API key");
    delay(3000);   // upload every 3 seconds
}
#include <WiFiNINA.h> // Uno WiFi Rev2, MKR WiFi 1010, Nano 33 IoT, Nano RP2040
#include <VirtuinoCloud.h> // also install ArduinoHttpClient from Library Manager
const char* SSID     = "YOUR_WIFI_SSID";
const char* PASSWORD = "YOUR_WIFI_PASSWORD";
const char* API_KEY  = "YOUR_API_KEY";
VirtuinoCloud cloud(API_KEY);
void setup() {
Serial.begin(115200);
WiFi.begin(SSID, PASSWORD);
while (WiFi.status() != WL_CONNECTED) { delay(500); Serial.print("."); }
Serial.println("\nWiFi connected");
}
void loop() {
float sensor_value = 25 + random(-5,+5); // replace with a real sensor read
// The field's full name, exactly as in Console → Fields (VirtuinoCloud 1.1.0 or newer)
bool ok = cloud.write("demo_device/demo_field_1", sensor_value);
Serial.println(ok ? "Uploaded" : "Failed");
delay(3000);
}Replace the three placeholders at the top of the sketch with your own values.
const char* SSID = "YOUR_WIFI_SSID"; const char* PASSWORD = "YOUR_WIFI_PASSWORD"; const char* API_KEY = "YOUR_API_KEY";
In the Arduino IDE open Sketch → Include Library → Manage Libraries, search for VirtuinoCloud and click Install. Install ArduinoJson the same way.
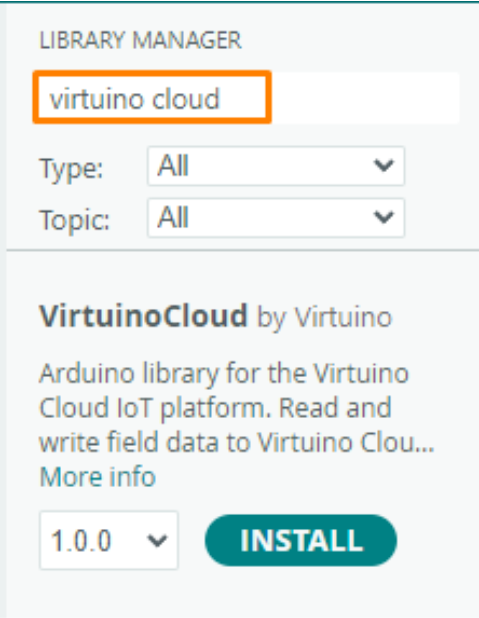
Choose the ESP32 or ESP8266 board and the correct
serial port, then press Upload. Open the Serial Monitor at
115200 baud — you should see Uploaded every 3 seconds.
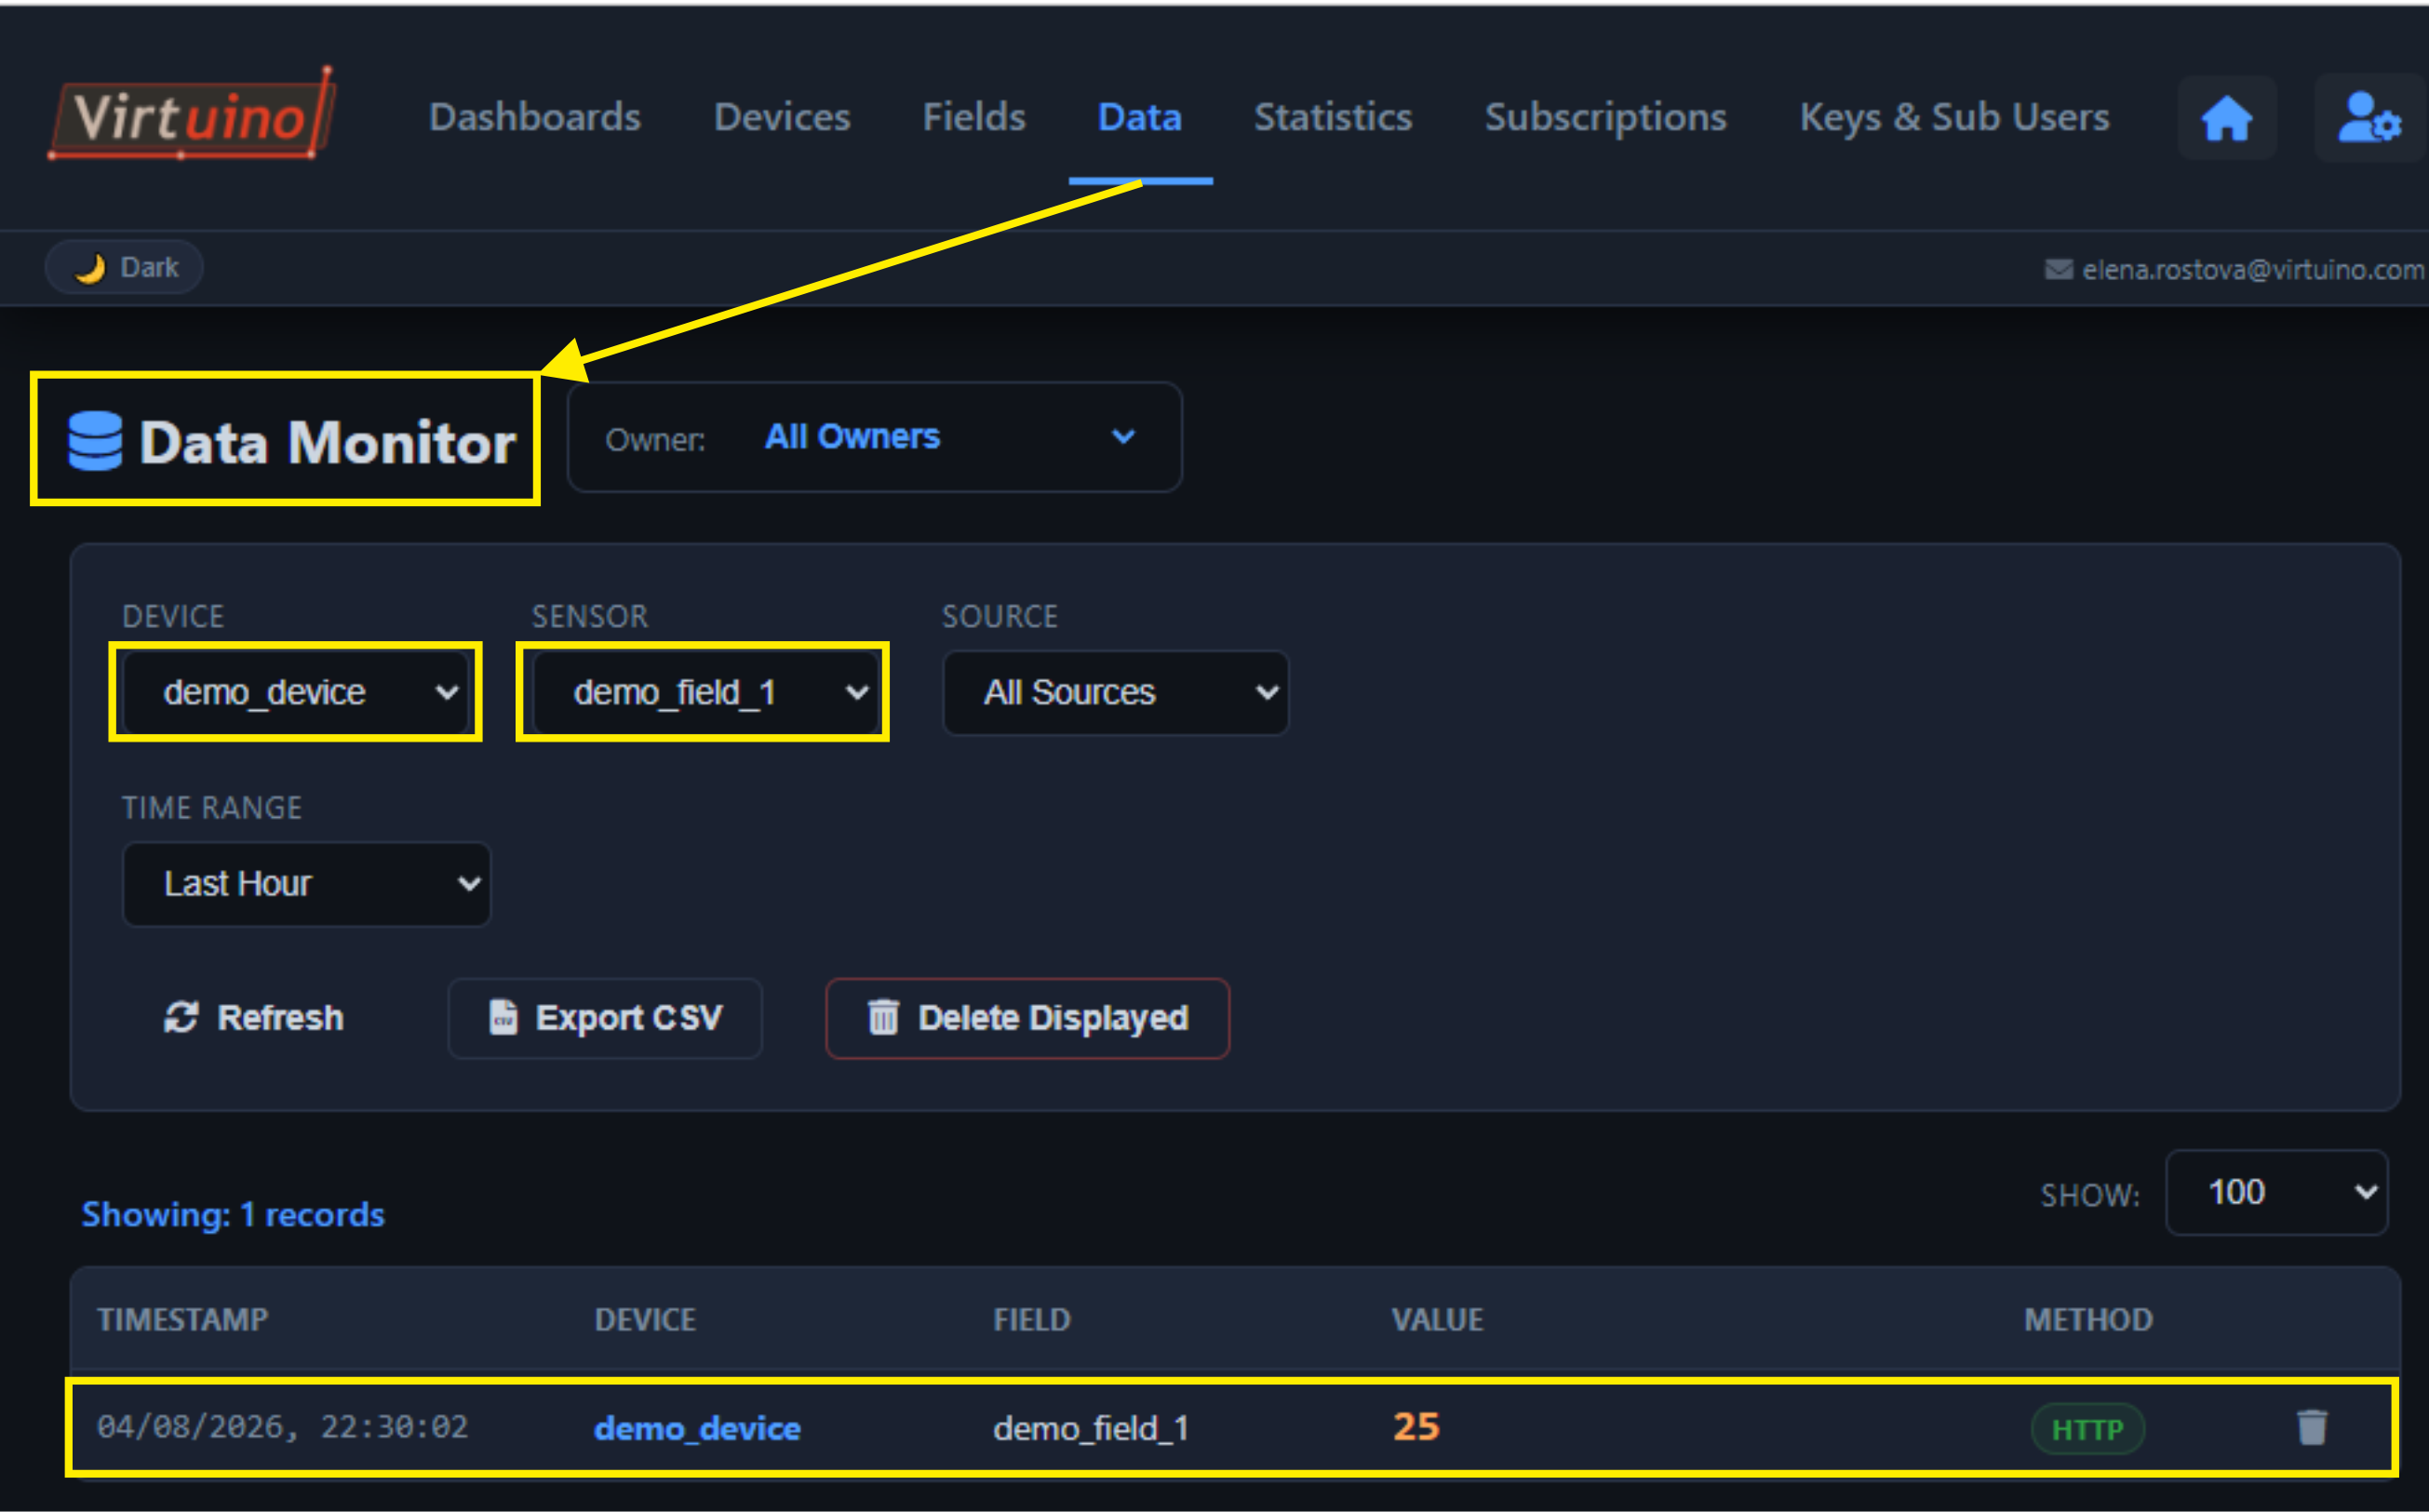
Open the console and go to Data → Data Monitor.
Select demo_device and demo_field_1 and your values appear.
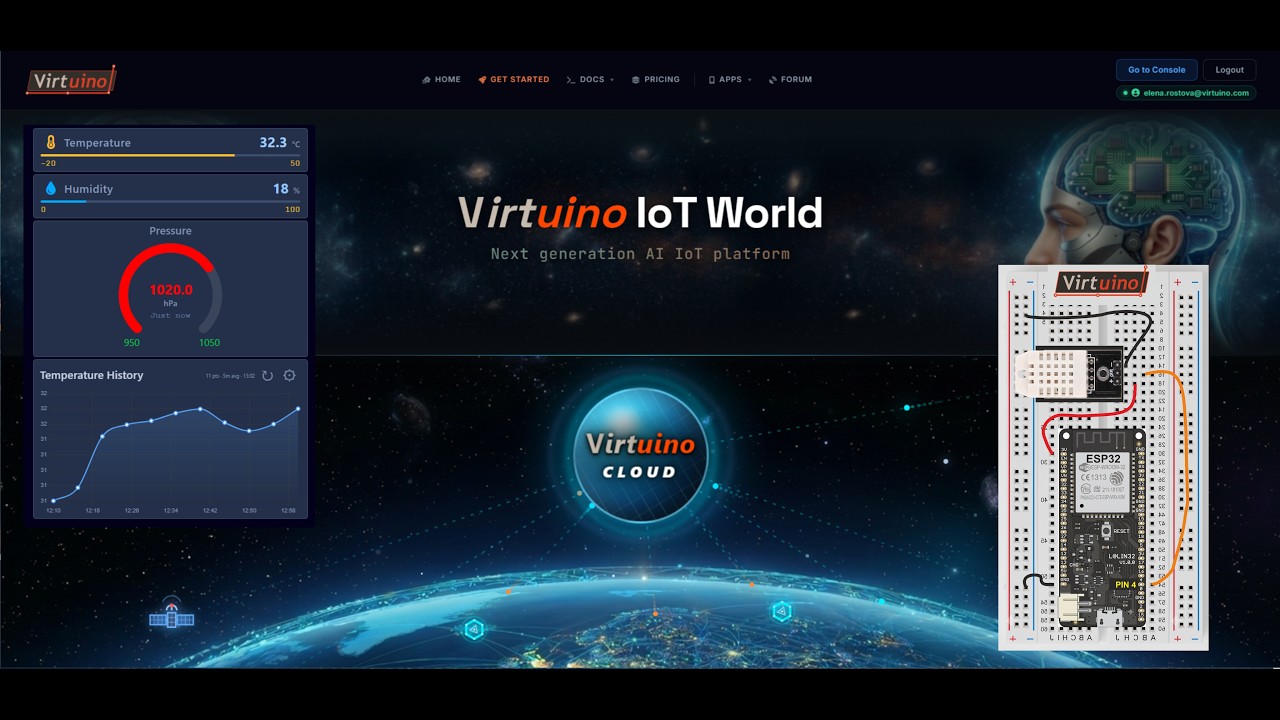
The steps above get a made-up value into the cloud. This video does the whole thing with real hardware: an ESP32 and a DHT22 sensor, from wiring to a finished dashboard with gauges and a chart.
Everything beyond this first upload — more examples, the raw API, and the other protocols.
Eight ready sketches: block write, reading values back, relay control, thermostat, weather station.
Call the REST API directly, without the library — endpoints, parameters and responses.
Build the dashboard: gauges, charts, switches and how to bind them to your fields.
Use MQTT when you need instant two-way control, such as switching a relay from the dashboard.